WebPrint Server
Server component is a Laravel web application with following requirements:
- PHP 8.1
- Database with JSON field querying capability - for example MySQL (SQLite is not supported)
- CRON for running scheduled cleaning jobs
There is no need for redis, as there is no queued jobs used.
Setup
As this is a Laravel application, you can follow Laravel Deployment from official docs.
Environmental Variables
Whatever you are installing WebPrint Server manually or using Docker Image, there are few required environmental variables to set:
App Configuration
You need to generate app key and fill app url.
Ensure that APP_DEBUG is false and APP_ENV is set to production when you deploy.
APP_ENV=production
APP_KEY=
APP_DEBUG=false
APP_URL=http://print.domain.tldDatabase configuration
You need to set your database configuration. MySQL is the recommended database, and the only tested one.
DB_CONNECTION=mysql
DB_HOST=127.0.0.1
DB_PORT=3306
DB_DATABASE=webprint_server
DB_USERNAME=root
DB_PASSWORD=Mail Configuration
If you want to enable password resets functionality, you need to configure also mail configuration.
MAIL_MAILER=smtp
MAIL_HOST=mailhog
MAIL_PORT=1025
MAIL_USERNAME=null
MAIL_PASSWORD=null
MAIL_ENCRYPTION=null
MAIL_FROM_ADDRESS="hello@example.com"
MAIL_FROM_NAME="${APP_NAME}"CloudFlare Proxy IP reveal
If WebApp Server will be protected by CloudFlare, enable following option to correctly discover user IP addresses.
LARAVEL_CLOUDFLARE_ENABLED=trueSetup Commands
After you have installed files and set your environmental variables, you need to install dependencies and migrate migrate the database:
composer installphp artisan migrateAnd build the front end resources (CSS and JS) using vite:
npm install & npm run buildDocker Image
Initial Configuration
After spinning up the instance, go to home page. You will be welcomed by a login screen. As this is a fresh install, head on to registration page and create an administrator account.
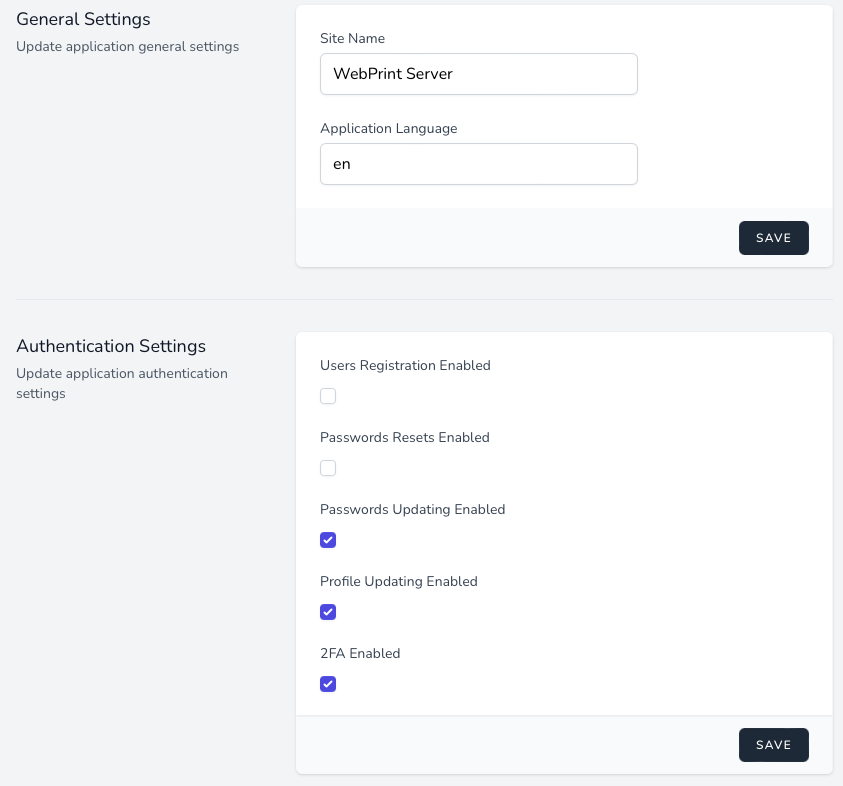
App Settings
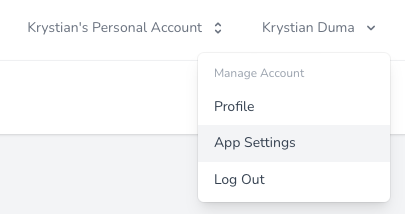
When you are logged in as a system administrator,
you will have access to App Settings menu under your account name.
In App Settings you can configure server name (overwrites APP_NAME environmental variable)
and interface language - currently supported are:
en- for englishpl- for polish
Also, you can enable/disable new user registration, password resets (remember to configure mailer settings before), passwords changing, profile updating and second factor authentication.
Team Creation
Before you can start adding printers, you need to create a Team.
You can create a team, by clicking "Create New Team" in team selector on dashboard
or by clicking "Create New Team" in team dropdown menu.
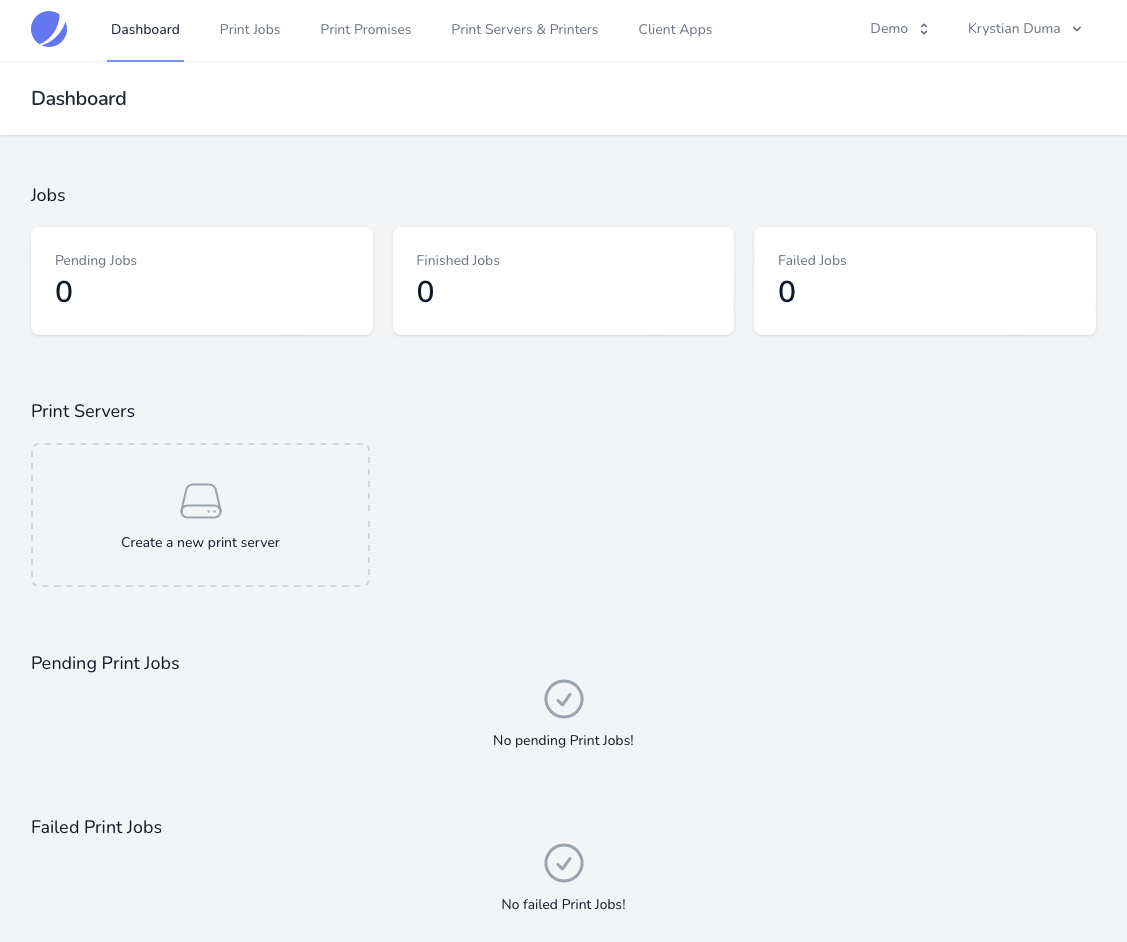
After creating a new team, you will be presented with an empty dashboard.